Appearance
Save Content Agent Outputs to Folders or Campaigns
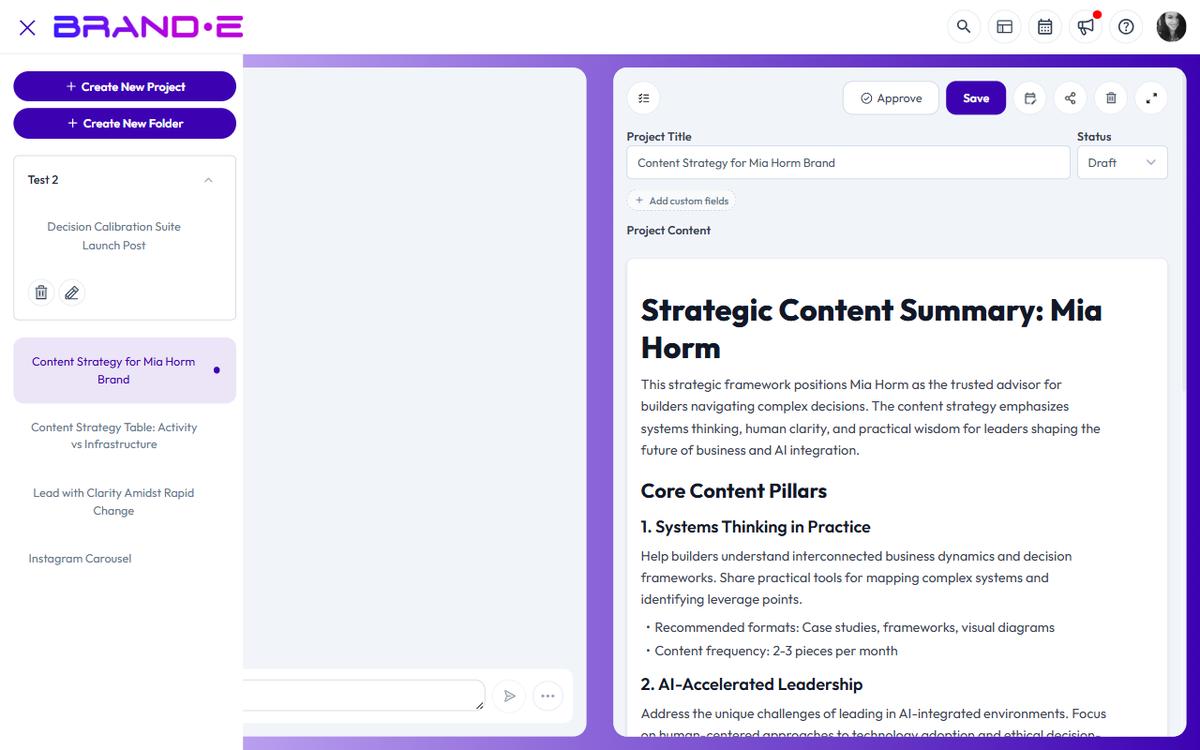
After generating content from a Content Agent brief, the new project appears in your workspace. Organize it immediately by moving it into a folder or campaign.
What Happens After You Generate
When you click "Generate" on a customized brief, Brande.ai creates a project in your workspace with:
- The title from the brief
- The generated content
- Metadata linking it back to the original Content Agent recommendation
The project appears in your sidebar project list. It is not automatically organized into a folder.
Move Content Into Folders
Folders are the primary way to organize projects by campaign, channel, client, or any structure that works for you.
Drag and Drop Into Folders
The fastest way to organize is drag and drop:
- In your sidebar, find the newly created project
- Drag it over a folder
- Drop it into the folder
- The project is now inside the folder
The folder structure persists across sessions. Any projects you move stay in that folder.
Create a New Folder If Needed
If you do not have a folder for this type of content yet, create one:
- Right-click in the sidebar
- Select "New Folder"
- Name it (e.g., "Q2 Blog Posts", "LinkedIn Carousel", "Email Campaign")
- Drag the project into the new folder
Organizing by Channel
A common approach is to create folders per distribution channel:
- Blog Posts
- LinkedIn Content
- Email Campaigns
- Social Media
- Podcasts
This way, all content for one channel lives in one place, making it easy to find and review before publishing.
Organizing by Campaign
Another approach is to organize by business objective or campaign:
- Product Launch – March
- Thought Leadership – Q2
- Customer Case Studies
- Bottom-of-Funnel Content
With this structure, all related content (across channels) lives together for coordinated publishing.
Link Recommendations to Projects
After you generate from a Content Agent brief, that brief is marked as having an associated project. On your dashboard, you will see "Go to Project" instead of "Customize Content" for that recommendation.
Clicking "Go to Project" jumps directly to the generated project, making it easy to navigate back if you need to refine or republish.
Organize Multiple Briefs Into One Campaign
If Content Agent gives you several related briefs (e.g., a blog post, a LinkedIn post, and an email about the same topic), generate all of them and move all three projects into the same campaign folder.
This approach:
- Keeps related content together for easy reference
- Makes it simple to assign them for review as a set
- Enables coordinated publishing across channels
- Maintains a clear audit trail of what was generated
Tips for Effective Organization
Tip 1: Organize immediately after generating. Do not let projects sit at the top level of your sidebar. Move them into folders right away so your workspace stays manageable.
Tip 2: Use consistent naming conventions. If you name folders, use a format that works for your workflow. Example: "2026-03-Q2 Blog" or "Product Launch – Email Sequence."
Tip 3: Archive old campaigns. As campaigns complete, move them to an "Archive" folder or mark them as Archived so your active folders stay focused.
Tip 4: Use folders to batch feedback requests. If you generate multiple briefs and want feedback before publishing, move them all into a "In Review – Client A" folder and share that folder with stakeholders.
Folder Access and Sharing
Folders support drag-and-drop organization within your personal workspace. If you are sharing content with team members or clients, the folder structure is preserved when you share.