Appearance
Create Custom Content Checklists and Workflows
Content quality scales through process, not talent.
Checklist Templates lock in your service delivery process—the steps you take to produce on-brand, client-approved, publication-ready content every single time.
Create once. Assign to every project across all clients. Watch quality and speed improve together.
What's a Checklist Template?
A Checklist Template is a reusable task list you assign to projects.
When you assign a template to a project, the project displays a checklist of steps that team members mark as complete before publishing.
Example Checklist Template: "Blog Post Quality Checklist"
- [ ] Brand voice review — tone and personality match Brand DNA
- [ ] SEO optimization — target keyword in title, subheadings, alt text
- [ ] Link research — 3-5 internal/external links added and verified
- [ ] Fact check — all claims verified against sources
- [ ] Client collaborator review — approval received
- [ ] Final publish check — images optimized, metadata complete
Access Checklist Templates
- Click your profile icon (top right) or press Ctrl/Alt+A
- Open Account sidebar
- Click Checklist Templates
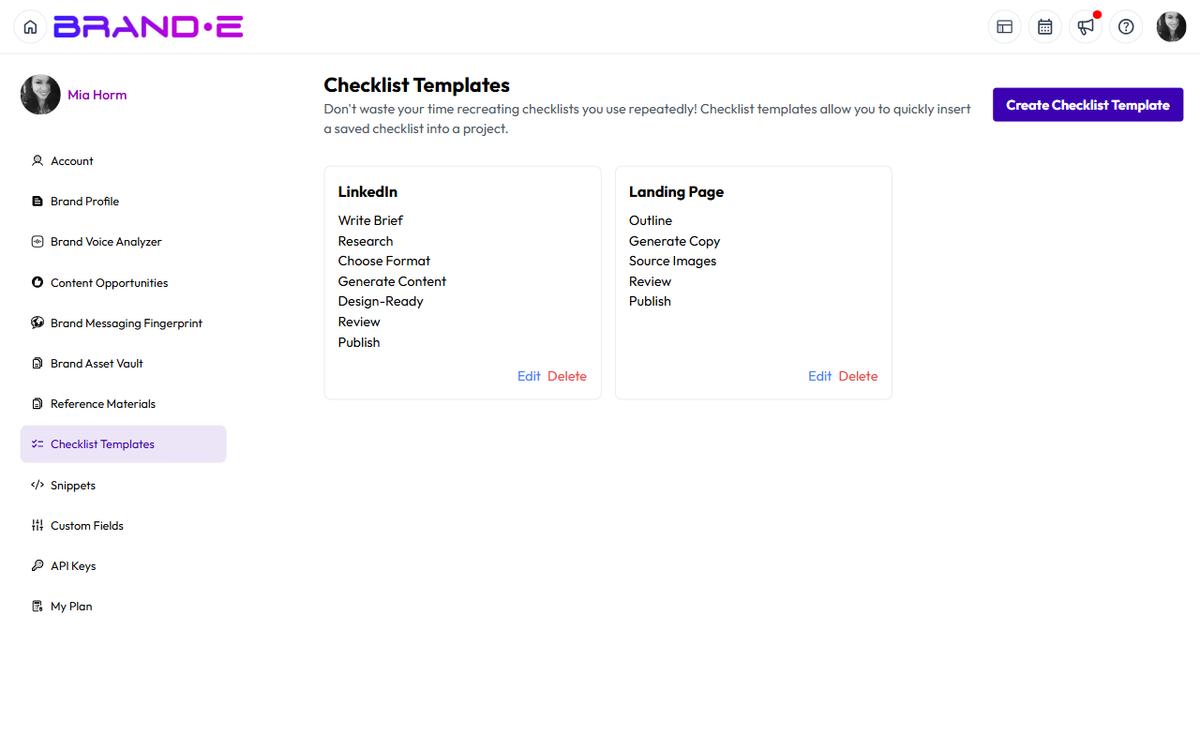
The Checklist Templates page displays:
- List of all templates you've created
- Option to create a new template
- Edit/delete controls for existing templates
Create a New Checklist Template
- Go to Checklist Templates (Account sidebar)
- Click Create Checklist Template
- Enter the template Name (for example, "Client Approval Workflow")
- Click Add Task for each step. Each task is a single line bound to the placeholder Enter task description — there is no separate description, due-date, or owner field at the template level
- Use Remove next to any task to delete it
- Click Save
The template now appears in the Checklist Templates list and can be applied to any project.
Example Checklist Templates
Here are templates agencies commonly create:
Template 1: Social Content Checklist
- [ ] Brand mention — ensure client brand is referenced
- [ ] Hashtag research — add 5 relevant hashtags
- [ ] Image optimization — compress and test image sizing
- [ ] Voice consistency — tone matches Brand DNA
- [ ] Call-to-action — clear next step for audience
- [ ] Client approval — collaborative review and sign-off
- [ ] Publish to schedule — schedule across all client channels
Template 2: Email Campaign Checklist
- [ ] Subject line testing — A/B subject lines considered
- [ ] CTA clarity — button copy and landing page aligned
- [ ] List segmentation — right audience selected
- [ ] Deliverability check — spam keywords avoided
- [ ] Mobile preview — renders correctly on mobile
- [ ] Client review — final approval received
- [ ] Send ready — list uploaded, timing confirmed
Template 3: Blog Post Checklist
- [ ] Outline approved — structure and flow confirmed
- [ ] Draft complete — all sections written
- [ ] SEO optimization — keyword research, title, meta tags
- [ ] Internal linking — 3-5 related posts linked
- [ ] Image sourcing — alt text and attributions added
- [ ] Fact checking — claims verified
- [ ] Client feedback — incorporate review comments
- [ ] Final edit — grammar and tone pass
- [ ] Meta descriptions — complete for all sections
- [ ] Publish ready — featured image, categories, tags set
Template 4: Video Content Checklist
- [ ] Script approved — client sign-off on messaging
- [ ] Footage capture — all scenes filmed
- [ ] Edit complete — cuts, transitions, pacing done
- [ ] Audio — voiceover recorded and mixed
- [ ] Graphics — titles, lower thirds, brand elements added
- [ ] Color grading — consistent look and feel
- [ ] Final review — client watches full video
- [ ] Export ready — resolution, format, and specs confirmed
Assign a Checklist to a Project
Once you've created checklist templates, apply them to a project from inside the project itself:
- Open the project
- Open the project's Tasks dialog from the toolbar
- In the Select a Template dropdown, choose the template you want to apply
- Click Apply Template
A new task is created on the project for every task in the template. You can also click Create Template from this dialog to jump to the template editor.
Applying multiple templates is supported — each apply appends new tasks to the project. Editing a template afterwards does not retroactively update tasks on projects that have already had it applied.
Use Checklists During Project Work
As your team works on the project:
- Team members see the checklist in the project view
- They mark steps as complete by clicking the checkbox
- Step status is saved automatically
- Other team members see the progress in real-time
Checklists do not hard-block project status transitions in Brande.ai today. They are visible reminders of process — you can change project status (Draft → Approved → Published) without ticking every box. Treat unchecked items as quality alerts, not gates.
Plan Gating: Checklist Templates
Checklist Templates are gated behind plan levels.
- Free Plan — No checklist templates
- Starter Plan — Limited templates (e.g., 3 templates)
- Pro Plan — Expanded templates (e.g., 10 templates)
- Agency Plan — Unlimited checklist templates
Check your plan: Account sidebar > My Plan
If you need more templates than your plan allows, you see: "Premium Feature: Upgrade your plan to unlock additional checklist templates"
Click Upgrade Now to access unlimited templates.
Edit Existing Checklists
- Go to Checklist Templates (Account sidebar)
- Find the template you want to edit
- Click Edit or the pencil icon
- Modify the template name, description, or steps
- Click Save Changes
Changes apply only to future applies of this template. Tasks already created on projects from a previous Apply Template action are independent records and are not updated when the template changes.
Delete a Checklist Template
- Go to Checklist Templates
- Find the template you want to delete
- Click Delete or the trash icon
- Confirm deletion
Deleting a template:
- Removes it from the Select a Template dropdown for new applies
- Does not remove or alter tasks already created on projects from previous applies (those tasks live independently of the template)
Best Practices for Checklist Templates
Build Checklists Around Your Service Delivery If your agency always does brand voice review, client approval, and fact-checking, create a checklist that locks in these steps. Every project goes through them—no exceptions.
Name Templates Clearly Use template names that instantly tell you the purpose:
- "Client Approval Workflow" (not "Checklist 1")
- "Blog Post Quality Gate" (not "Blog Post")
- "Social Content Pre-Publish" (not "Social")
Start With 3-5 Core Templates Create templates for your most common content types:
- Blog posts
- Social content
- Email campaigns
- Video/podcast content
- Website copy
Add more later as you identify patterns.
Make Steps Actionable Steps should be concrete actions, not vague guidance:
Bad: "Review quality"
Good: "Check brand voice — ensure tone matches Brand DNA examples"
Bad: "Get approval"
Good: "Client collaborator reviews and approves in Brande.ai"
Assign to Every Project Don't create templates and then forget them. Make checklist assignment part of your new project workflow. Every project gets the appropriate template.
This creates consistency and prevents quality issues from slipping through.
Update Templates When Your Process Changes If you add a new quality standard (e.g., you now always do A/B subject line testing), update the relevant checklist template.
Edit the template and save. Future projects assigned this template will use the updated version.
Troubleshooting
Q: I created a checklist but can't find it in the project assignment dropdown. A: Refresh your browser. Sometimes the template list doesn't load immediately. Ensure you're looking in the right project type (some templates may only apply to specific content types).
Q: Can I assign multiple checklists to one project? A: Yes. Each Apply Template action appends a new set of tasks to the project, so you can layer several templates on the same project.
Q: What happens if I delete a template that's already assigned to a project? A: The project keeps the tasks that were created when you applied the template, because applied tasks are independent of the template. The template just won't appear in Select a Template for future applies.
Q: Can I share checklists with other agencies or team members? A: Checklist templates are scoped to a single brand and can't be exported or duplicated across brands today. To share a template across brands, recreate it manually under each brand.